
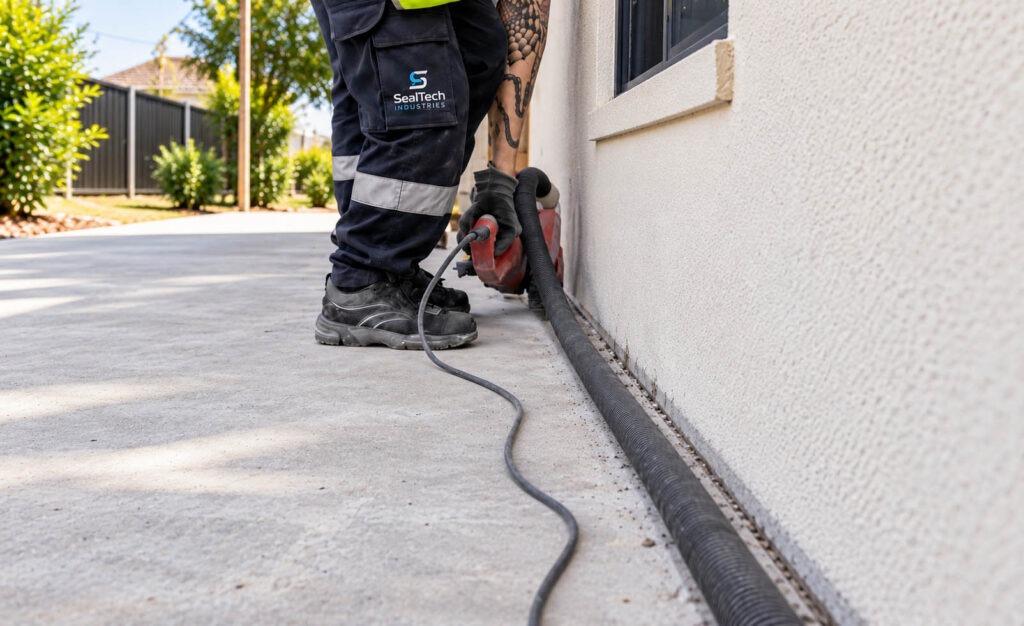
The gap where a concrete slab meets your home’s wall is one of the easiest places for rainwater to get in. When the sealant in that joint cracks, shrinks or peels away, water can run beneath driveways, patios and paths, and over time it can lead to dampness, washed-out soil and damaged concrete.
In Brisbane, the Gold Coast and Logan, these joints take a beating from heavy downpours, strong UV and constant temperature swings. Sealants in this climate harden, split and lose their grip faster than many homeowners expect.
This guide walks you through how to waterproof a concrete expansion joint against a house wall, which sealants work best, the mistakes that cause failures and when it’s smarter to call a professional.
Why Sealing the Joint Between Concrete and Your House Matters
Concrete moves. It expands in the heat, contracts as it cools and shifts with moisture. Expansion and isolation joints give slabs room to move without pushing against your walls or cracking.
The problem is that an open or failed joint also gives water, dirt and debris a direct path in. Typical consequences include:
- Water entry: Rain can track down the gap between the slab and the wall.
- Concrete damage: Ongoing moisture can contribute to cracking, surface breakdown and rusting of reinforcement.
- Soil erosion: Water getting under the slab can slowly wash away the ground that supports it.
- Dampness: Persistent moisture near walls and floors can create damp conditions inside and out.
- Sealant failure: The wrong product, or an old one, can split or peel as the concrete moves.
A properly installed flexible seal keeps the weather out while still letting the joint do its job.
Step-by-Step Guide to Concrete Expansion Joint Sealing Against House Walls
Step 1: Inspect the joint
Start by checking the condition of the joint. Look for cracked or missing sealant, a widening gap, loose filler, chipped edges and signs of water getting through. Measure the width and depth, and note whether water pools near the wall. If you notice settlement, drainage problems or structural movement, get those assessed before you seal anything
Step 2: Remove old sealant and debris
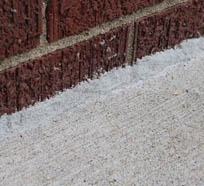
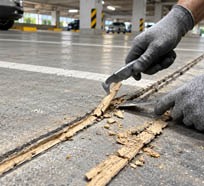
Cut out failed caulking, loose filler, dirt and any plant growth using hand tools or suitable equipment. Work carefully so you don’t damage the concrete or the wall, and leave any sound isolation filler that’s meant to stay. Removing all of the failed material matters, because new sealant won’t bond properly to old.
Step 3: Clean and prepare the surfaces
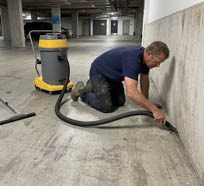
Clean both joint faces so they’re free of dust, grease and loose particles. Make sure the surfaces are dry enough and prepared as the sealant manufacturer specifies, and apply a compatible primer if one is required. Good preparation is what gives the sealant a lasting bond.
Step 4: Fit a backer rod
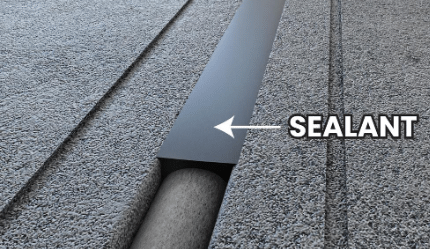
Push a correctly sized backer rod into the joint. It sets the depth of the sealant and stops it sticking to the bottom of the joint (three-sided adhesion), which lets the sealant stretch and compress freely as the concrete moves.
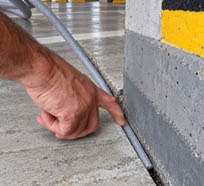
Step 5: Apply a flexible sealant
Choose an exterior-grade polyurethane, hybrid polymer or silicone movement-joint sealant suited to your joint size, expected movement and exposure. Use a caulking gun to lay a continuous bead that contacts both joint faces. Never use rigid mortar or grout, as it will crack the moment the slab shifts.
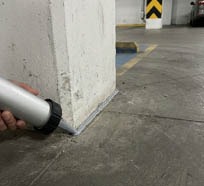
Step 6: Tool the sealant and let it cure
Smooth the bead with a tooling instrument to the profile the manufacturer recommends. Tooling presses the sealant into contact with the joint faces and gives a clean finish. Then leave it to cure for the full specified time before it sees rain, foot traffic or vehicles.
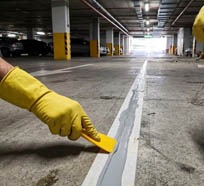
Step 7: Check and maintain
Once cured, look over the joint for gaps, bubbles or patches where it hasn’t stuck. After that, inspect it regularly, particularly after heavy rain or long stretches of strong sun, so small issues are fixed before they turn into expensive repairs.
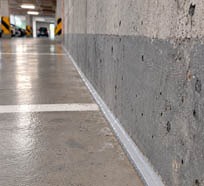
.
Choosing the Best Sealant for a Concrete Expansion Joint
The right product depends on joint width, how much movement is expected, the condition of the surfaces and how much weather, chemical or traffic exposure the joint gets. The main options are:
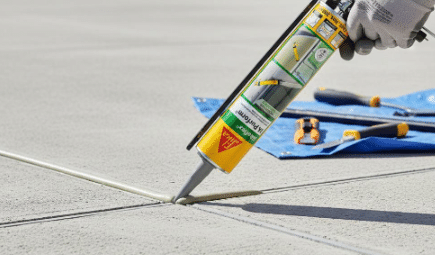
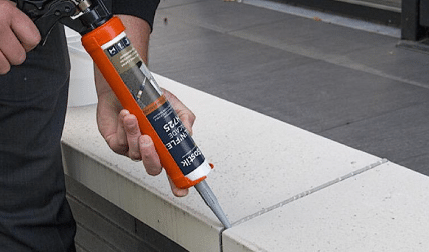
- Polyurethane sealants: A popular choice for driveways, patios, footpaths and pavements, offering good flexibility and weather resistance when specified and installed correctly.
- Silicone sealants: Certain construction-grade silicones offer excellent UV resistance and flexibility for compatible exterior movement joints.
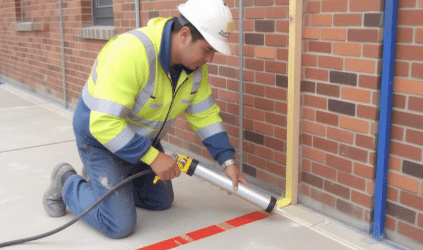
- Hybrid polymer sealants: Selected products combine strong adhesion with flexibility for suitable exterior joints, depending on their specifications.
- Backer rod systems: Not a sealant, but essential. Correctly sized backing material controls depth and supports proper movement.
The best waterproof expansion joint sealant depends on the joint’s width, movement requirements, substrate condition and exposure to weather, chemicals or traffic.
Common Mistakes That Cause Joint Sealing to Fail
Even high-quality joint sealants can fail when incorrectly installed. Common mistakes include:
- Applying new sealant over old, deteriorated caulking or dirty concrete.
- Filling a movement joint with a rigid material.
- Skipping the backer rod or bond breaker.
- Getting the sealant depth or joint profile wrong.
- Ignoring water pooling or poor drainage next to the wall.
- Letting the joint get wet or trafficked before it has cured.
Also take care not to seal over weep holes or drainage openings in the wall. And if the water is coming from faulty drainage or below-ground waterproofing, sealing the surface joint alone won’t solve it.
When Should You Hire a Professional Concrete Expansion Joint Sealing Contractor?
A small reseal can be a reasonable DIY job for an experienced homeowner. It’s time to bring in a specialist when the joint is moving significantly, the sealant keeps failing or water keeps getting through. Professional sealing is especially worthwhile for:
- Driveways and slabs that adjoin a home
- Commercial footpaths, pavements and building perimeters
- Industrial hardstands and loading areas
- Large or irregular movement joints
- Joints that need full removal and replacement of old sealant
- High-traffic areas that need a specified sealing system
A professional can assess how the joint moves, prepare the surfaces with the right equipment and choose a system that fits the demands of the site.
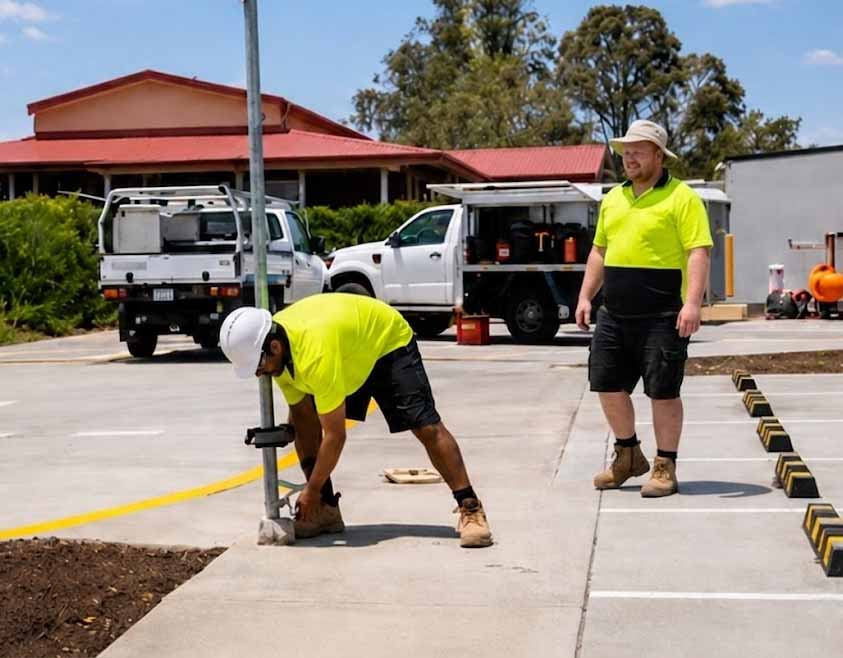
Why Choose SealTech Industries for Concrete Expansion Joint Sealing in Brisbane, Gold Coast and Logan?
SealTech Industries specialises in expansion joint sealing, movement joint repairs and precision caulking for homes, commercial developments and industrial sites across Brisbane, the Gold Coast and Logan. We focus on correct preparation, the right flexible sealant for the job and installation methods that let the concrete move while keeping water out.
Our services include:
- Sealing against house walls: Closing the gap between external concrete and the building.
- Driveway expansion joint sealing: Protecting joints in driveways, access roads and car parks.
- Commercial and industrial sealing: Flexible systems for pavements, hardstands and concrete floors.
- Joint repair and replacement: Removing failed sealant and restoring worn joints.
- Precision caulking: Concrete-to-concrete and concrete-to-building interfaces.
Whether the joint has never been sealed or the old caulking has given up, we’ll assess its condition and recommend the right fix.
Protect Your Property Before Water Does the Damage
A failed joint against your house wall lets water get under your concrete and can lead to moisture problems and early deterioration. A flexible, weather-resistant seal keeps it out while letting the slab expand and contract naturally.
Ready for a professional assessment? Contact SealTech Industries to discuss your project and get your concrete expansion joints checked.